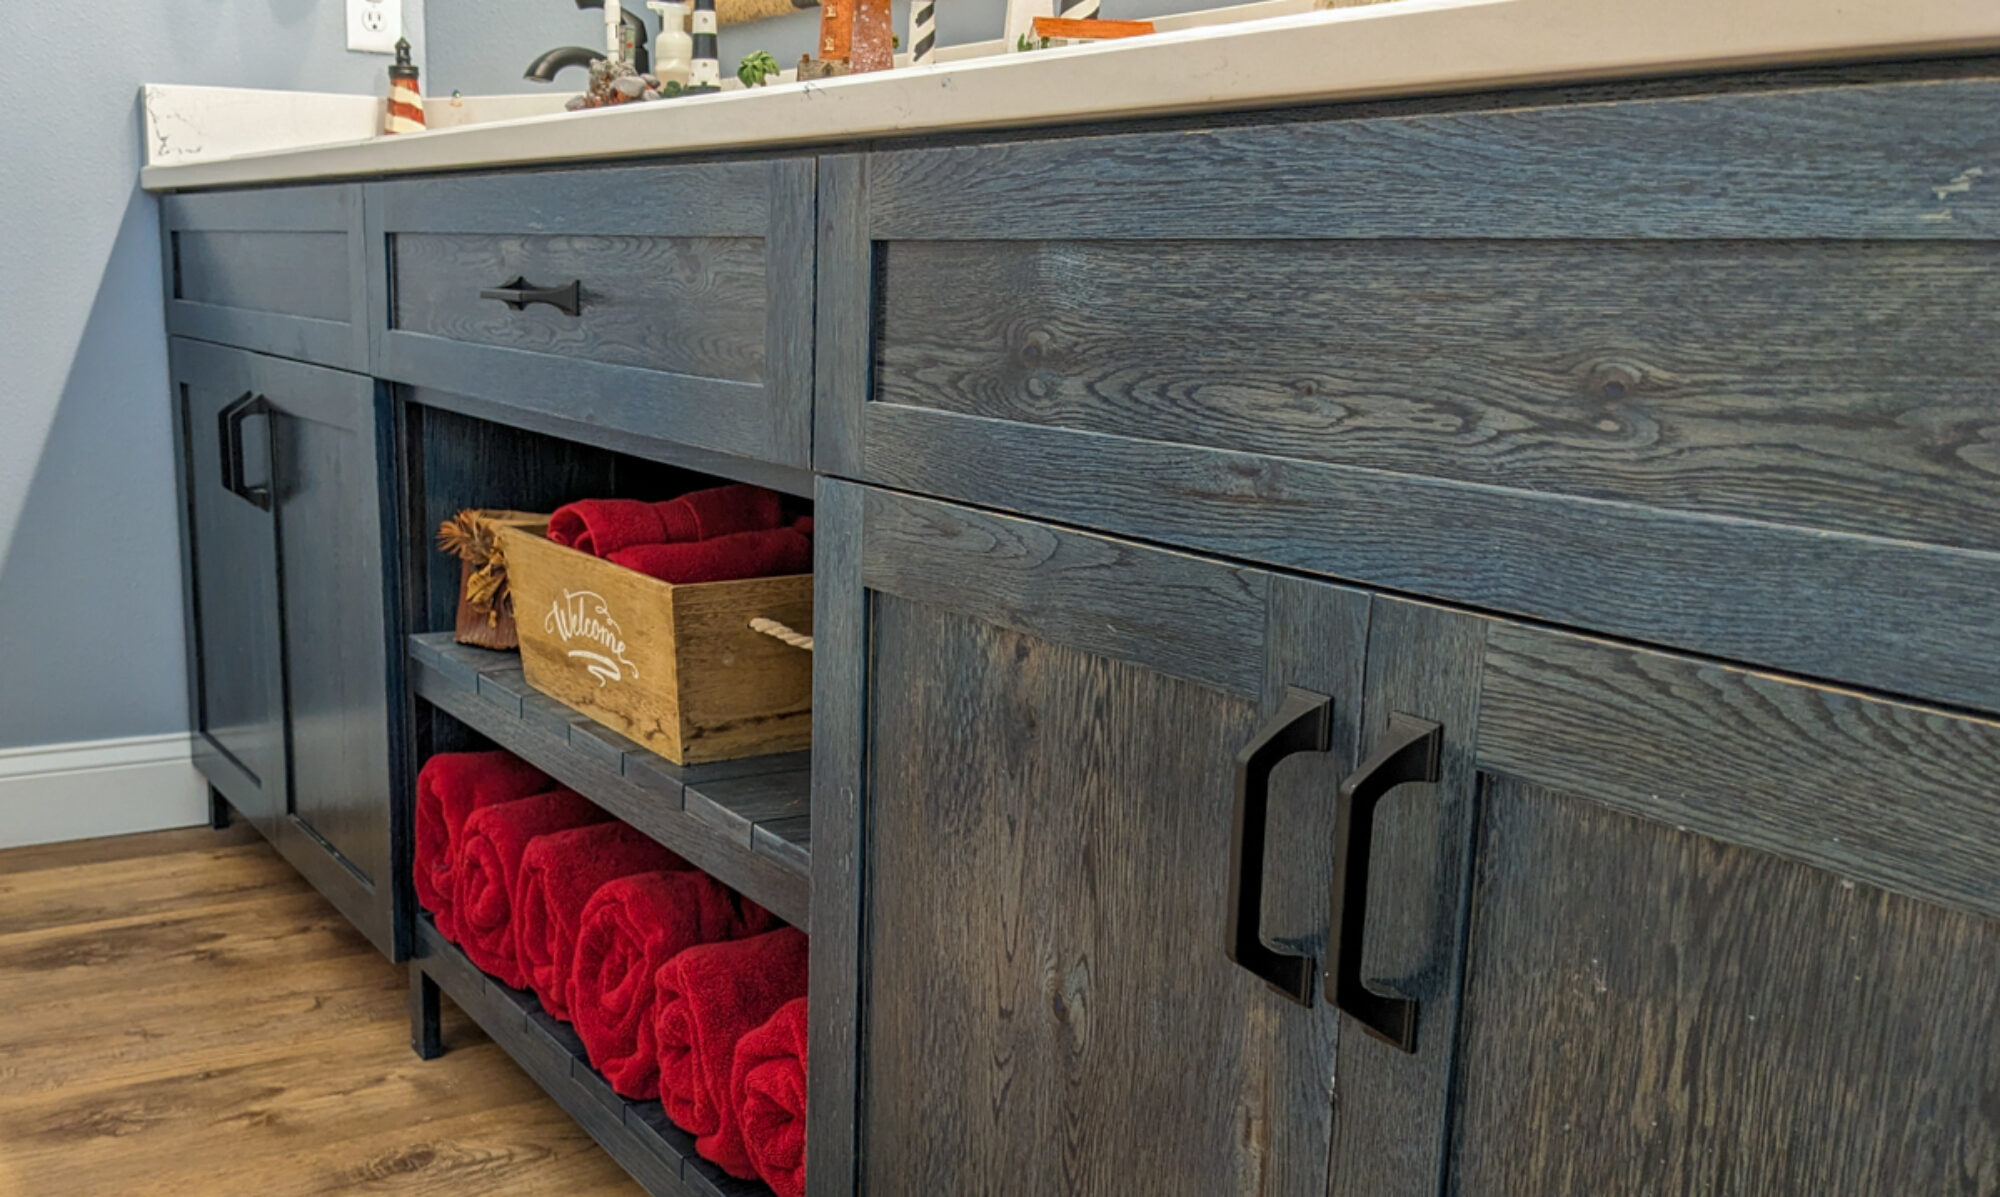
Since I posted images of the reeded door vanities I built, I’ve received several calls and emails from builders and cabinet makers asking for details on how I built the reeded doors. I thought it might be easier to write a short article detailing the construction to refer to any future queries.

The first step was to joint and plane many 4/4 quarter-sawn white oak. They needed to be 3 1/4″ wide and a length appropriate to the height of the doors. These blanks were then resawn at the bandsaw and to yield two pieces, one 5/16″ thick and the other 1/4″ thick. I grouped the pairs and kept track of them by marking the ends.

I then prepared the 1/4″ MDF blanks that were to be the core of the lamination. They were ripped to 3 1/4″ wide and the same lengths as the QSWO (quarter sawn white oak).

The QSWO and MDF were then laminated together using my vacuum bag.


After the lamination, the blanks were ripped to exactly 3″ wide. This measurement was critical as it corresponded to the width of the molding knife pattern I planned to use later. The blanks were then laid out to form a pleasing pattern taking into account the grain and wood color. This order was then marked on the ends of the blanks. Biscuit slots were then cut on the edges of the blanks to aid in the alignment of the blanks during glue-up. All the biscuit slots were registered from the top of the 5/16″ thick QSWO face, which was the face that would be reeded.

The blanks were then run through my Williams and Hussey molding machine using their reeded casing knife 229-CP. It is 3″ wide with 3/16″ beads. I had prepared some 3″ wide MDF blanks when ripping the laminations to 3″ wide and used these to make sure the blanks were centered exactly to the molding knife to ensure the “hills and valleys” of each blank lined up nicely to the next.

The top layer of the lamination was 5/16″ thick QSWO to allow for the loss of some of that thickness when the blanks were run through the molding machine.
The blanks were then glued together. I took a lot of care to make sure they lined up perfectly and that the resulting panel was flat.


After glue up the panels were cut to the final size and a beaded molding was applied to the edges.

