Reeded door construction

Since I posted images of the reeded door vanities I built, I’ve received several calls and emails from builders and cabinet makers asking for details on how I built the reeded doors. I thought it might be easier to write a short article detailing the construction to refer to any future queries.

The first step was to joint and plane many 4/4 quarter-sawn white oak. They needed to be 3 1/4″ wide and a length appropriate to the height of the doors. These blanks were then resawn at the bandsaw and to yield two pieces, one 5/16″ thick and the other 1/4″ thick. I grouped the pairs and kept track of them by marking the ends.

I then prepared the 1/4″ MDF blanks that were to be the core of the lamination. They were ripped to 3 1/4″ wide and the same lengths as the QSWO (quarter sawn white oak).

The QSWO and MDF were then laminated together using my vacuum bag.

After the lamination, the blanks were ripped to exactly 3″ wide. This measurement was critical as it corresponded to the width of the molding knife pattern I planned to use later. The blanks were then laid out to form a pleasing pattern taking into account the grain and wood color. This order was then marked on the ends of the blanks. Biscuit slots were then cut on the edges of the blanks to aid in the alignment of the blanks during glue-up. All the biscuit slots were registered from the top of the 5/16″ thick QSWO face, which was the face that would be reeded.

The blanks were then run through my Williams and Hussey molding machine using their reeded casing knife 229-CP. It is 3″ wide with 3/16″ beads. I had prepared some 3″ wide MDF blanks when ripping the laminations to 3″ wide and used these to make sure the blanks were centered exactly to the molding knife to ensure the “hills and valleys” of each blank lined up nicely to the next.

The top layer of the lamination was 5/16″ thick QSWO to allow for the loss of some of that thickness when the blanks were run through the molding machine.

The blanks were then glued together. I took a lot of care to make sure they lined up perfectly and that the resulting panel was flat.

After glue up the panels were cut to the final size and a beaded molding was applied to the edges.

Floating Vanity

I can’t take too much credit for this. My client came up with the design and chose the veneer, right down to the actual leaves and where they would be positioned in the piece. Nature provided some gorgeous rosewood veneer. All I did was put it together.

Floating vanity with matching inlay in a concrete sink. Push to open drawer.

Custom vanities online

Last year, at the start of the pandemic, I wasn’t sure how it would affect my business, so I set up an Etsy store thinking I would expand my geographical reach.  I’ve recently put the store on hiatus because of the amount of local work I have, but it was an interesting experience selling cabinetry with just online interaction.  

I only listed one vanity and, to be honest, never actually sold that exact design.  Most of the inquiries I received were in the line of “I have an inspiration image of a vanity I would like, can you build it for me?”

After much back and forth correspondence a design would be finalized and I’d start building the vanity.  Once built, I had to deal with the challenges and logistics of shipping such a large item.  A learning curve in itself.

If the local work slows down, as it inevitably will, I plan on reopening the Etsy store with a simple listing:  “Do you have an inspiration image of a vanity you would like?  Send it to me and I’ll see if I can build it for you.”

Until then I’m grateful for the amount of local work that have on my work schedule.

Study/Desk area

A desk area to help display a lifetime of memorabilia.

Shaker styles inset doors, tigerwood veneer desktop, textured laminate back panel, rain texture glass doors.

I have no idea what “tigerwood”‘ is. More than likely it is some marketing name, but it certainly is some pretty wood. The rain texture on the glass doors is vinyl applied to the glass, simple and very effective.

From a functional point of view, the highlight is the drawer adapted to house the printer. On the other side of the desk are a pair of filing cabinets. On the desk is a couple of pop-up outlets with both 110V and USB connections. On the underside of the upper cabinets are recessed dimmable LED lights.

Lots going on in this piece and all of it coming together to make a functional and beautiful study.

Workshop upgrade – Vacuum Frame Press

Workshop upgrade.

Over the last year, I’ve been doing more and more work with veneer and felt I was reaching the limitations of the vacuum bag set up on the table of my CNC router. In an effort to improve the efficiency and quality of my veneer work I decided to purchase and set up a vacuum frame press in the workshop.

It’s been a lot of work in the evenings and weekends to get it assembled and installed but it’s finally operational.

With the need to conserve valuable floor space I went with a wall-hung model. Of course, once the frame press was assembled and installed I discovered that lifting it is a two-man operation, which I’m not. That led to another project, researching, purchasing, and installing an electric winch to help me lift the table to stow it against the wall.

After many hours of work, the vacuum frame press is operational and I veneered a set of countertops with it over the weekend. I’m really pleased with the ease of use and am looking forward to many years of veneer pressing with it in the future.

Fireplace cabinets and shelves

Intended to be a feature wall this fireplace surround, cabinets and shelves have totally transformed the room. My client was thrilled with how it turned out, as was I.

The colors in the stone tile, the “Hurricane grey” veneer, and the cabinetry just work so well together and with the existing colors in the room.

The floating shelves feature dimmable LED lights controlled by a touch sensor.

The floating mantle was a last-minute addition I’m really pleased we added.

The stone tile was done by my friend Steve Parish from Parish Interiors.

The fireplace insert was provided by the good folk at Grill and Hearth.

Bathroom vanities

Made from knotty alder veneer and solid wood these bathroom vanities fit a lot of features into a relatively small space.

Laundry hamper, make-up desk area, custom drawer box with grommets for hairdryer, and curling tongs complete with docking drawer. The docking drawer outlet has a thermal overload switch incorporated. Solid maple drawer boxes with dovetail joints. Full extensions self-close under-mount drawer guides. Soft-close hinges.

The slats on the doors and drawer fronts were a real challenge to build, requiring a lot of attention to detail and not much room for error. One of the more complex door styles that I’ve built, I’m very pleased with how they came out.

Lastly, the knotty alder trim framing the windows tied everything together perfectly.

Miter joints

Miter joints. Time-consuming and challenging but so worth the effort. In my mind, they add a level of craftsmanship to cabinetry.

This short clip shows a collage of video and images in the creation of a long (83″) miter joint.

Butler pantry

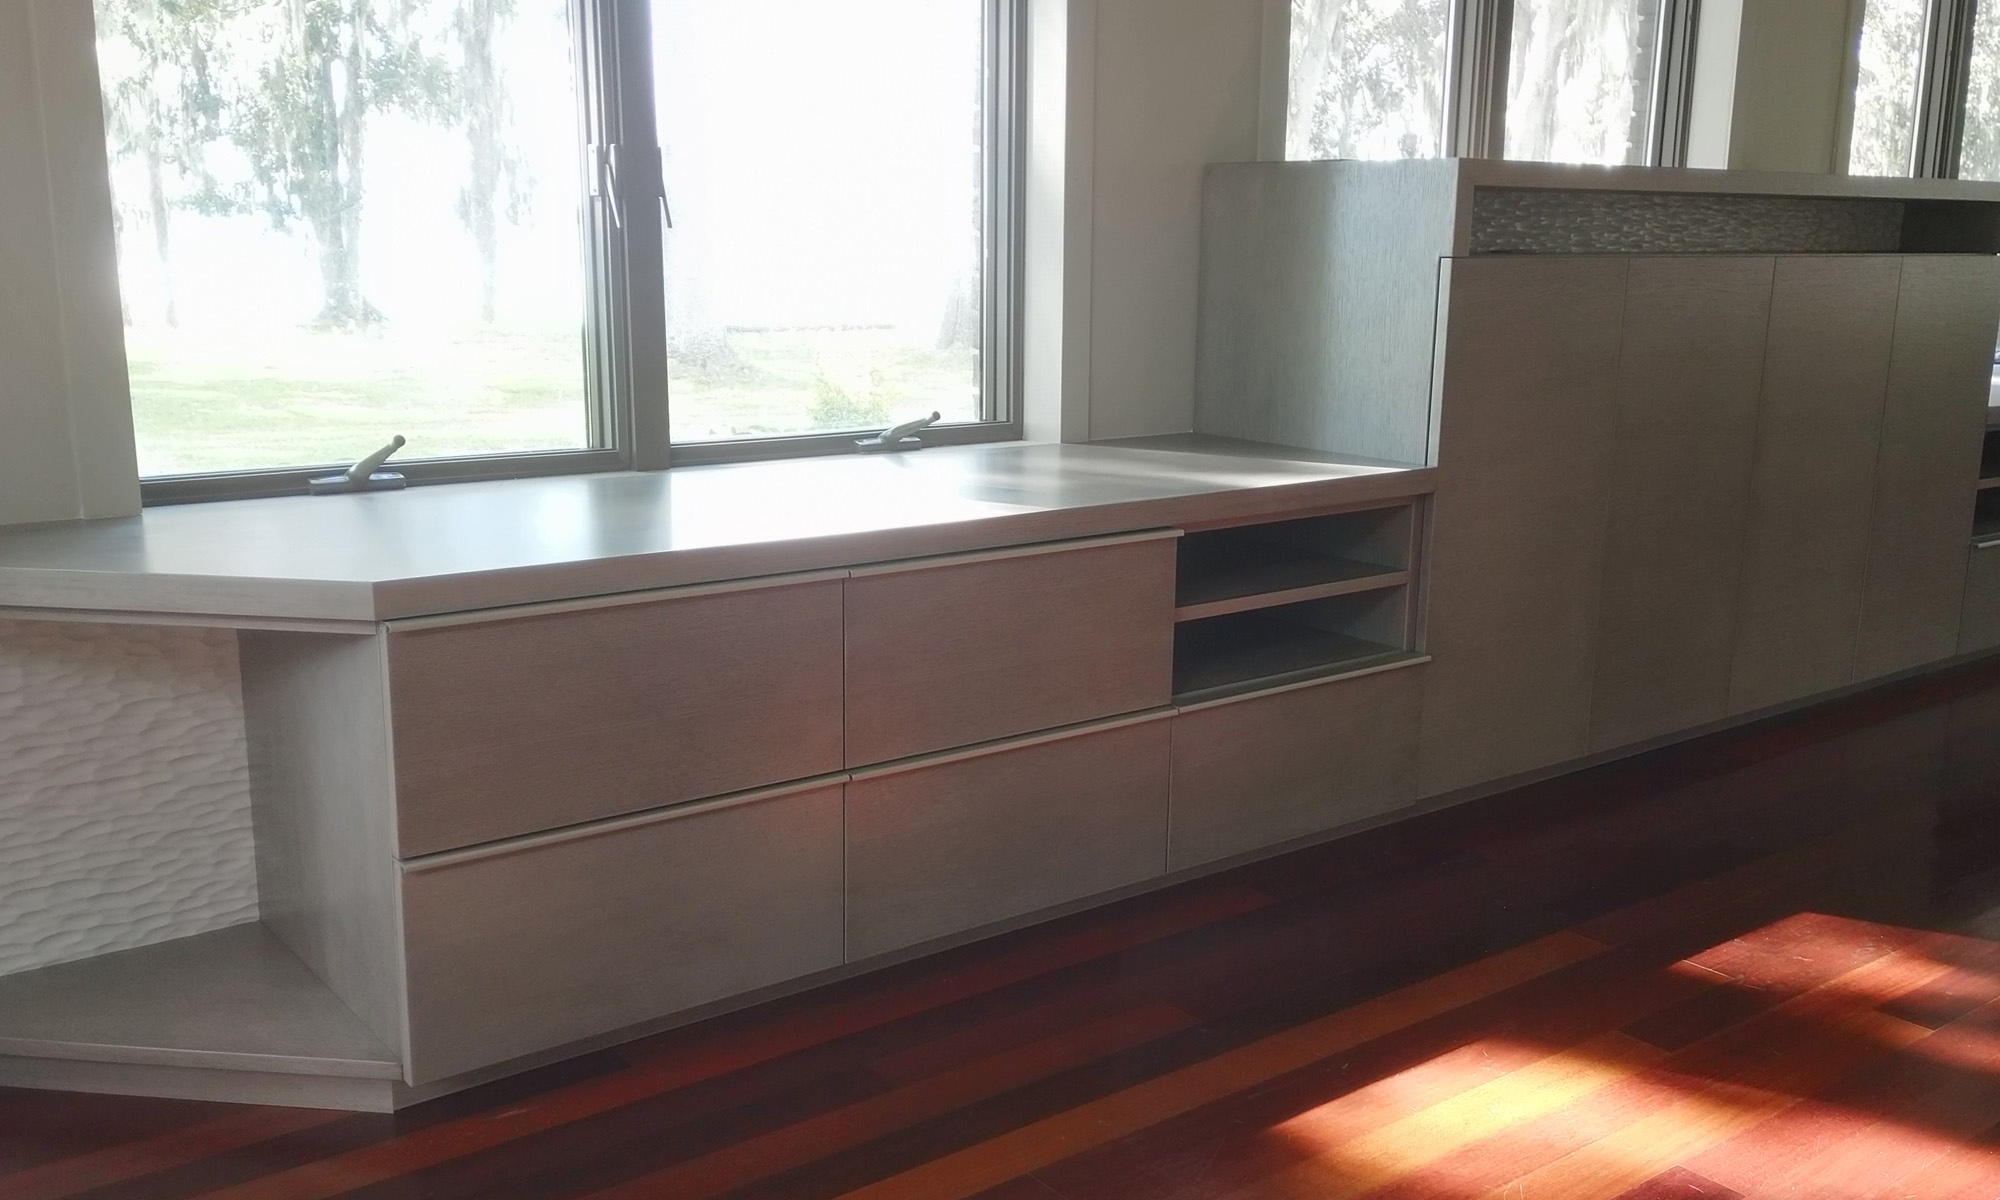
These cabinets were built for a brand new home on the west coast of Florida, just north of Tampa. They were installed in the dining room. Constructed with a recomposed veneer from Italy called Hurricane Grey they complimented the existing dining table.

Dimmable LED lights in the side walls behind the face frames of the glass door cabinets will illuminate the contents of these cabinets despite the wooden shelves. The LED lights on the underside of the bridge cabinet will highlight an eventual display of wine bottles on wine pegs.

It took two trips to install this project. The first trip saw the installation of the base cabinets and the second trip saw the installation of the upper cabinets after the countertop had been installed.

This is the second of three projects done for this client. It’s been a real pleasure working with her and testimony as to what can be achieved over a long distance by email communication. Lots and lots of emails. I’m looking forward to collaborating on the third project later this year.

Laundry cabinet install

I did not build these laundry cabinets. I purchased them on behalf of my client from my friend Mike at Quality Cabinet Services.

I did install them, however. I don’t often get to see the finished room but my client was kind enough to send me these pictures. It was great to see how nicely the laundry room came out.